 This is a guest post by Sun Sachs, SVP Product, Design & Engineering at Townsquare Media
We recently completed our first Summer music festival season setting up Estimote Beacons at our largest music festivals over the past three months. This post is intended to be a practical summary of what we learned towards the goal of helping others achieve similar challenges.
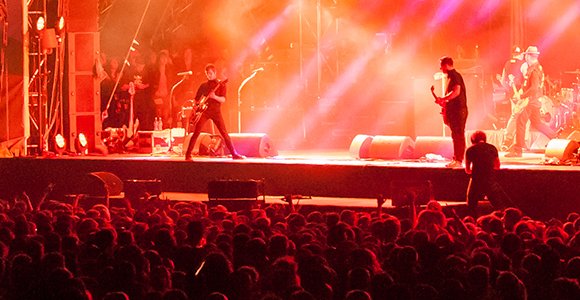
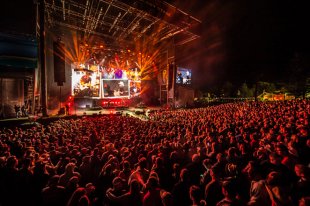
Our high-level goals were to help transform the music festival experience by leveraging beacons to deliver useful an engaging features and exclusive content for all attendees. We targeted our largest music festivals for this strategy including Mountain Jam (Hunter Mountain, NY), Taste of Country Festival (Hunter Mountain, NY), Country Jam (Grand Junction, CO) and WE Fest (Detroit Lakes, MN) with a combined total of over 300, 000+ attendees and 300+ beacons.
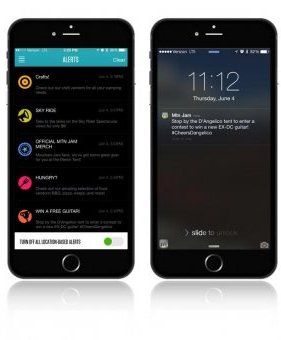
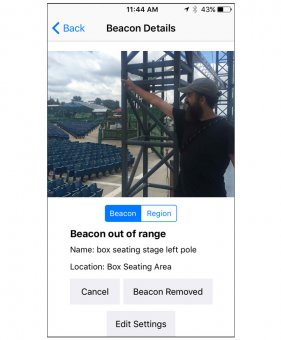
One of our primary use cases was to create iBeacon regions mapped to important landmarks within each festival to deliver context aware notifications and content to all attendees using our festival app. To solve these requirements we needed an efficient way to configure each beacon’s power and advertising intervals along with context specific meta data including GPS location, region name, placement photo and description. Using the Estimote SDK we created a custom beacon configuration app that provided three high-level features.
1. iBeacon Configuration
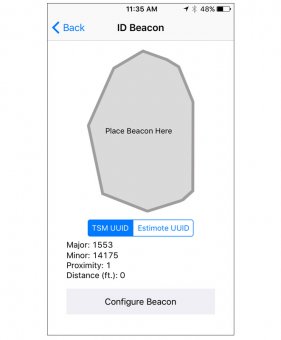
This interface allowed us to configure beacons on the fly by using a ranging algorithm to determine the beacon closest to the device. Tip: When configuring beacons leave the bag of beacons at least 25 yards from the beacon you are trying to configure. You can also use Flip to Sleep mode to mute some beacons. And if you’re feeling really ambitious you can also construct a faraday cage or bag to house your beacons which will effectively block all BLE signal.
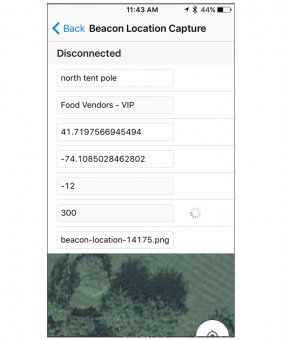 Once the app is connected to the beacon, it displays the full set of available meta data to be configured for each beacon. Here we entered a description of the location, selected the specific region e.g. main stage, tuned the power/advertising settings depending upon the placement, captured the GPS location and took a placement photo for retrieving the beacon at the end of the festival. All-in-all this configuration process only took approximately 2-3 minutes per beacon with most of the time spent doing the physical installation (see installation best practices below).
2. iBeacon Locations
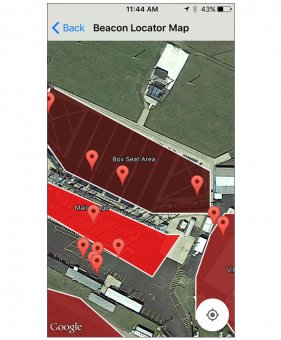
After we completed the installation and configuration for each region we then performed a round of Q.A. testing using our beacon locator feature. This feature provided a mashup of our geofence data from a KML file and the GPS locations for all of our beacons to provide a live view of each beacon’s location within each region. Tip: Depending upon how you are using your beacon GPS data you may want to offset the GPS coordinates from the actual beacon placement. For example, if the beacon GPS data is being used in a live display showing a user’s real-time location you don’t necessarily want to show them placed in the exact location of the beacon e.g. mounted to the side of a tent so offsetting the GPS towards the center of the landmark is a quick fix for this issue.
RELATED VIDEO
